PlatformIO Setup#
Sample code ships as one PlatformIO project per chapter. PlatformIO is an embedded development tool that builds and flashes from the command line, and it also works as a VS Code extension.
The book uses PlatformIO rather than the Arduino IDE because each chapter’s board and
build settings live in a text file, platformio.ini, versioned in Git together with
the code, and PlatformIO itself is pinned by uv.lock. The Arduino IDE keeps board
settings IDE-wide, so updating the IDE or a board package risks breaking samples that
used to work.
uv tool install platformio        # or: pipx install platformio
pio run -d <chapter_dir> -t upload
pio device monitor -b 115200
-b 115200 is the baud rate (the communication speed; it matches the
Serial.begin(115200) in the sketches).
The OS-specific pages (Developing on Windows, Developing on Linux, Developing on macOS) install
PlatformIO with uv sync inside the sample code folder and run it as
uv run pio. The global install shown above is only needed if you want a bare
pio command.
Check your setup#
The OS-specific pages below also show how to get the sample code with
git clone. From docs/os-on-arduino/code/, flash the environment-check sketch:
pio run -d 00_intro -t upload
pio device monitor -b 115200
You are ready when the monitor prints Environment OK! Ready to start. and
Loop count:, and the LED matrix shows “OS”.
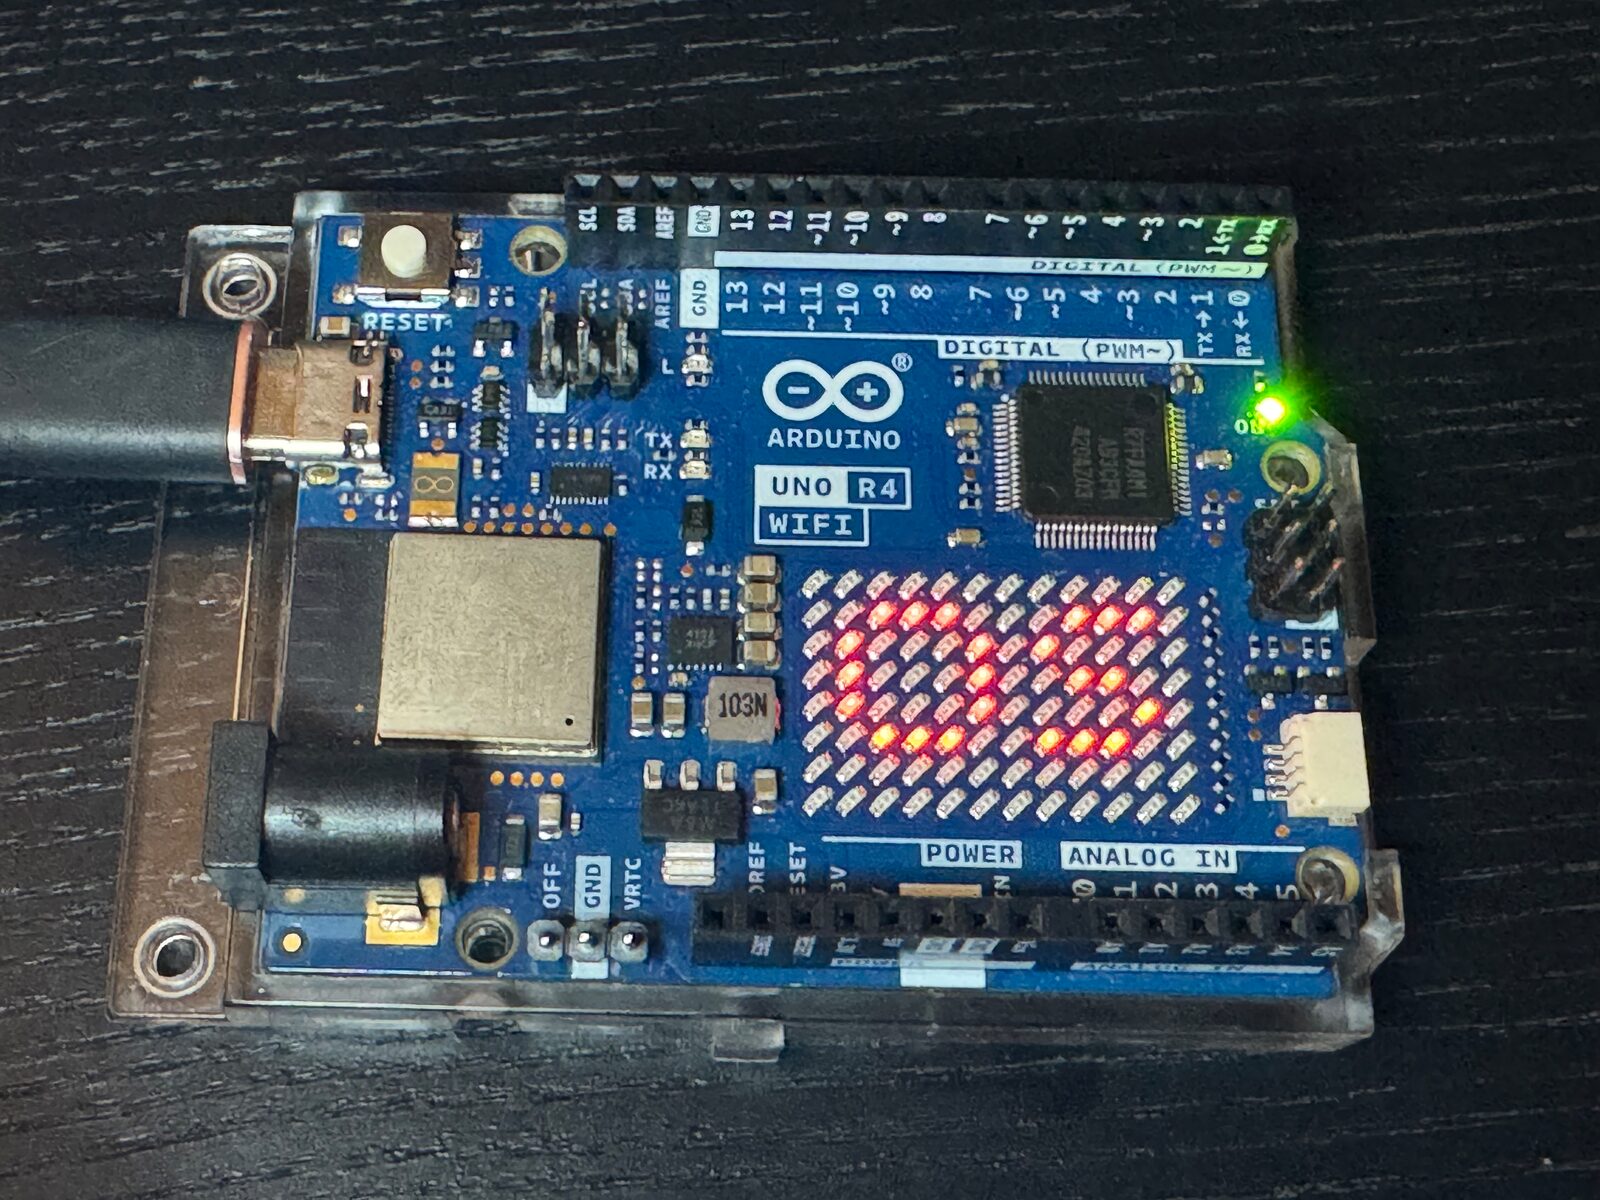
00_intro flashed: “OS” on the LED matrix#
Note
The sketch waits until a serial monitor is opened on the PC before it draws “OS”. Flashing alone leaves the matrix dark, so open the serial monitor.