Getting started with the Arduino IDE#
The Arduino IDE is the quickest way to check that the board works.
Open the Arduino IDE download page, pick the build for your OS from the drop-down, press DOWNLOAD and install it.
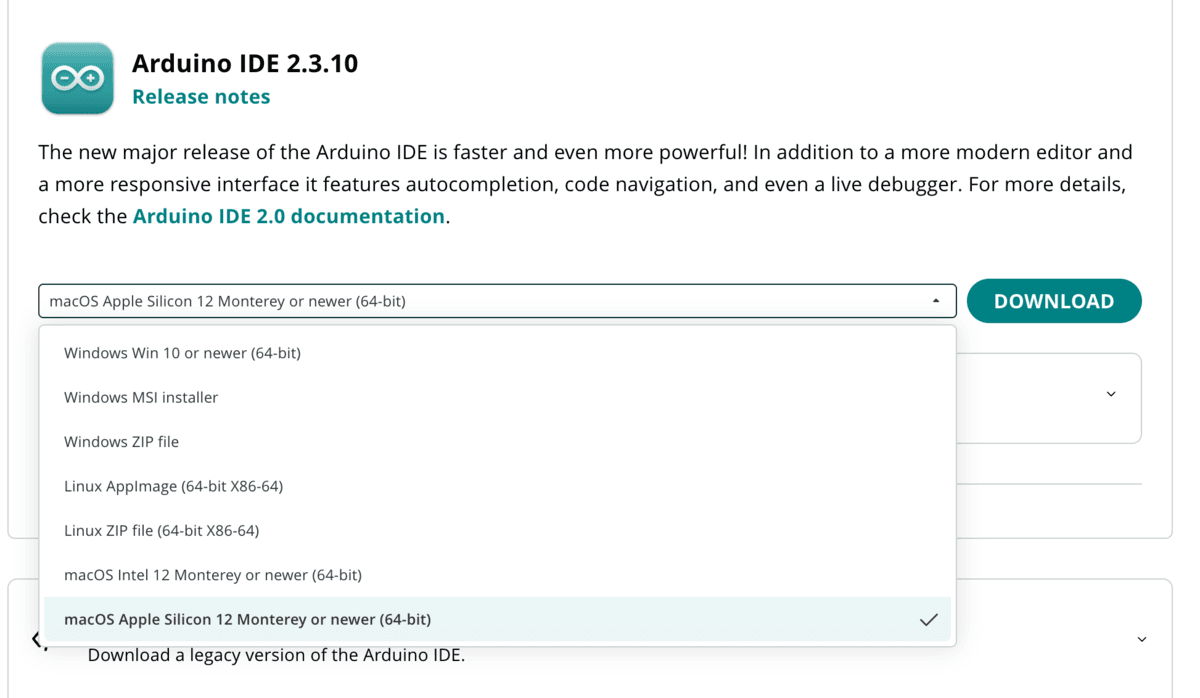
The Arduino IDE download page (Arduino IDE 2.3.10, as of September 2026). Source: arduino.cc/en/software#
OS
What to pick
Windows
Windows Win 10 or newer (64-bit)macOS (Apple M series)
macOS Apple Silicon 12 Monterey or newer (64-bit)macOS (Intel)
macOS Intel 12 Monterey or newer (64-bit)Linux (x86-64)
Linux AppImage (64-bit X86-64)To see which chip your Mac has, open the Apple menu → “About This Mac”. “Chip: Apple M…” means Apple Silicon; “Processor: … Intel” means Intel.
In the Boards Manager, add Arduino UNO R4 Boards. Open the Boards Manager from
Tools → Board → Boards Manager, or in Arduino IDE 2 from the board icon in the row of icons on the left edge.Select Arduino UNO R4 WiFi as the board and the connected port as the port. Ports are under
Tools → Port; the board is the one shown with “Arduino UNO R4 WiFi” next to it. The port name looks likeCOMn(e.g.COM3) on Windows,/dev/cu.usbmodem…on macOS and/dev/ttyACM0on Linux.Upload
File → Examples → 01.Basics → Blink. If the LED blinks, you are ready.
Note
The book’s standard environment is PlatformIO (next page). The Arduino IDE is used to check that the board talks to your computer and in the introduction of the first part of the book.